Auto Sync - Load Fingerprint Scan Data
Verify the connection between the fingerprint scanner and ByteHR -> Head to Timesheet tab -> Load Timesheet containing the employees' Scan ID, matching the employee ID in the Fingerprint Scanner.
💬 Note
There are four methods to process timestamp data into a Timesheet:
- Upload Text Files: Uploading Timestamp data using Text Files. See how to Upload Timesheet - Text Files at this LINK.
- Auto Upload: Use this method if you do not want to keep Auto Sync enabled 24/7.
-
Auto Sync: When employees clock in using a fingerprint scanner connected to ByteHR, the system automatically retrieves and processes Sign In/Out Timestamps.
See how to use Auto Sync at this LINK.
- eCheckin: When employees clock in using eCheckin, the system processes the data into real-time Timestamp.
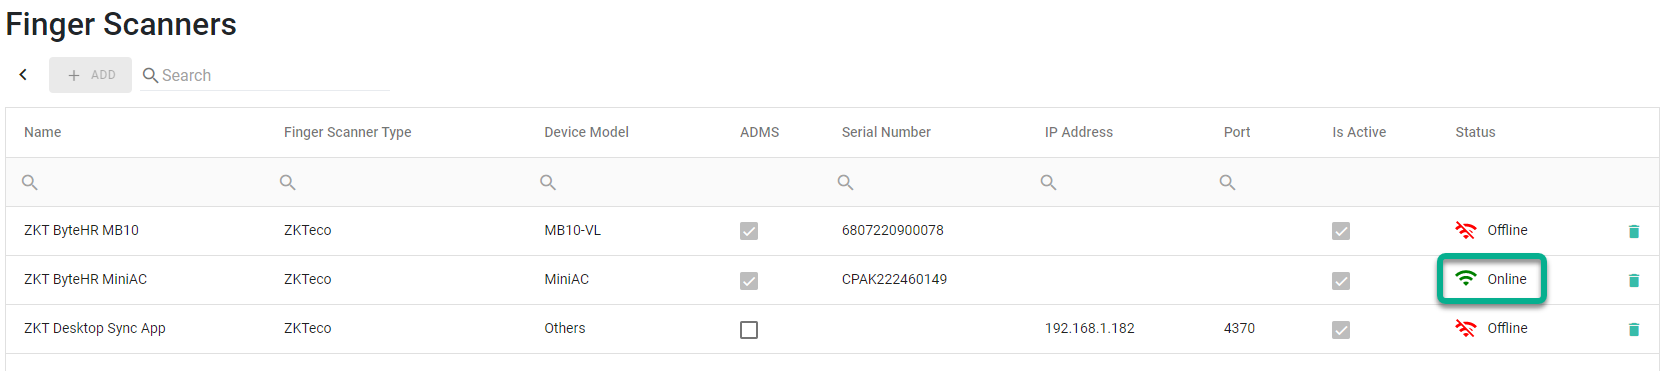
The Steps for Retrieving Timestamp records from a Fingerprint Scanner using Auto Sync via the Auto Sync App and ADMS are as follows:
- Verify that the fingerprint scanner is properly connected to the system.
-
If connected via ADMS, ensure the status of fingerprint scanner is online.
-
If connected via the Auto Sync App, check that the fingerprint scanner's status is marked with a checkmark.

-
- Go to the Timesheet.
- Select the Company, Branch, From Date, and End Date.
-
Click Load.
The system will retrieve data from the fingerprint scanners connected via the Auto Sync App and ADMS and reflect it into the employees' Timesheet.

