Upload Leaves
How to Upload Leave Days.
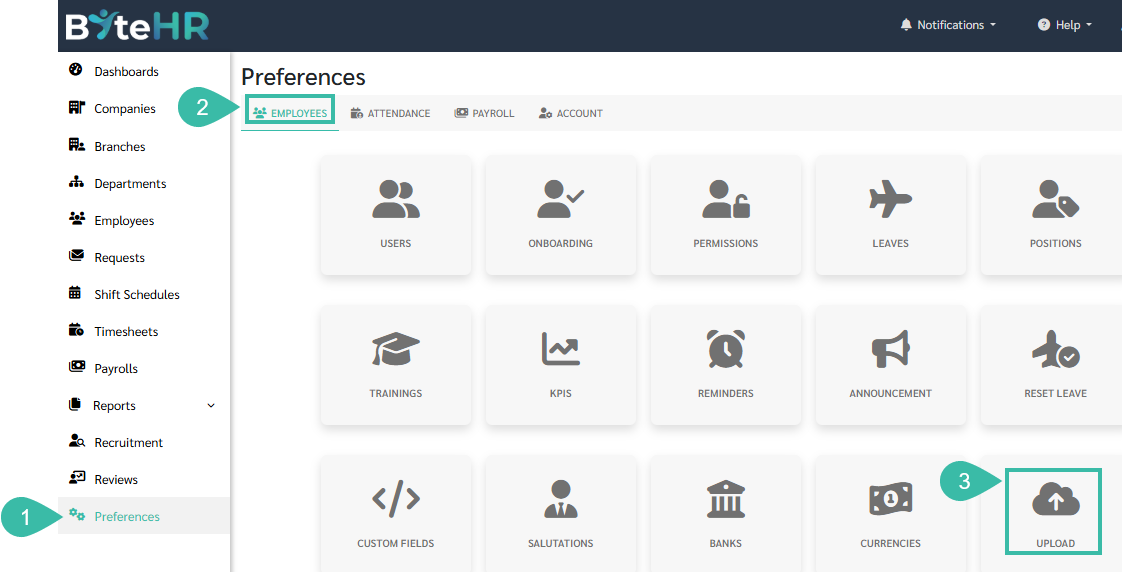
- Go to Preferences.
- Click Employees.
-
Select Upload.
-
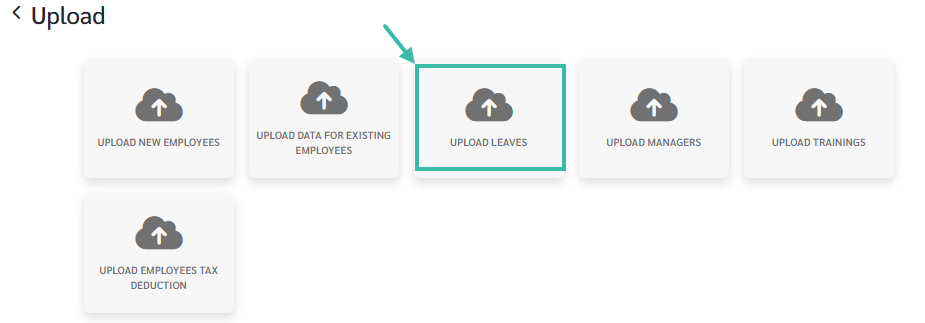
Choose Upload Leaves.
-
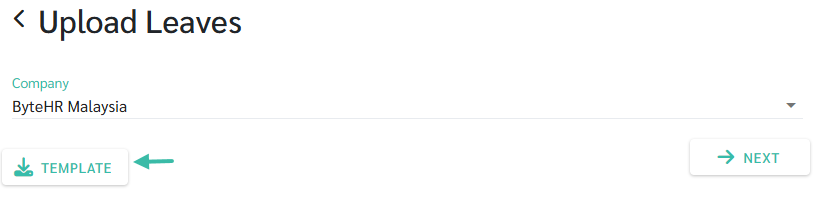
Click Template to download and fill in the details.
-
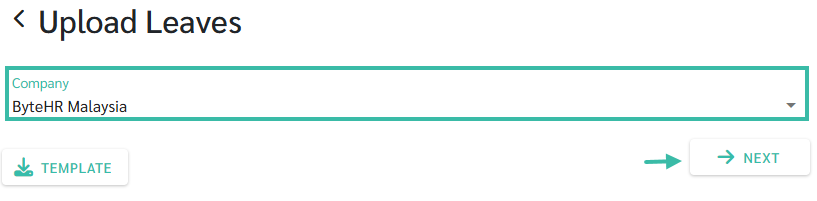
Once the template is completed, select Company and click Next.
-
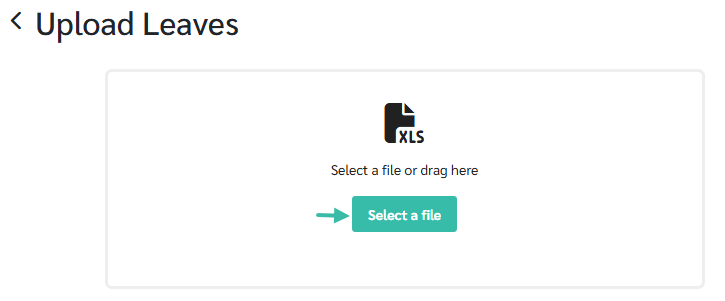
Select a File to upload the template.
-
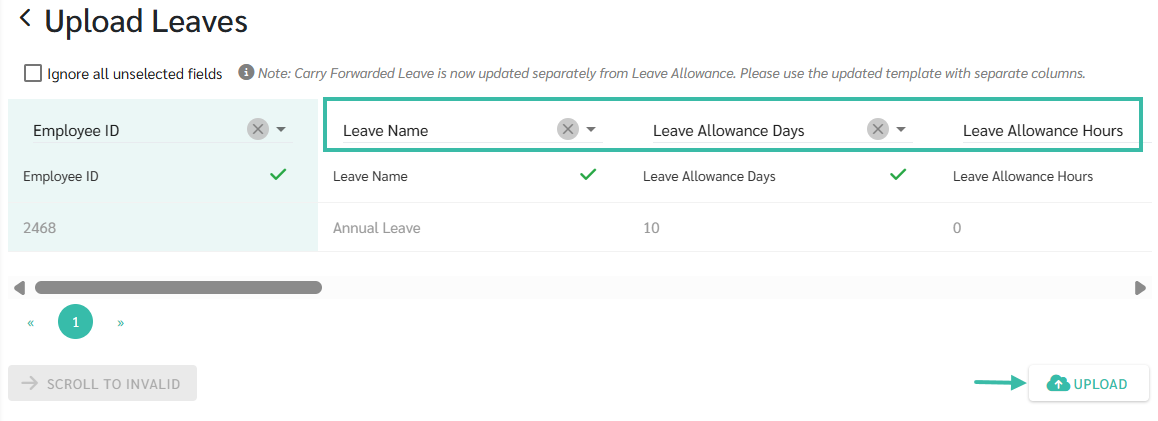
Match the fields accordingly and Click Upload.
-
Filling in the details in the Upload Leaves template.

- In the Employee ID column, enter the employee ID as shown in the employee's profile.
- In the Leave Name column, enter the name of the Leave, which must match the name specified in the system (Preferences -> Employees -> Leaves).
- In the "Leave Allowance Days" and "Leave Allowance Hours" columns, enter the total leave days the employee is entitled for this year. *Do not include accumulated leave days carried forward from the previous year.
- Columns for Used Leave Days and Used Leave Hours.
- Columns for Remaining Leave Days and Remaining Leave Hours.
- In the "Carry Forward Days" and "Carry Forward Hours" columns, fill in the accumulated leave days carried forward from the previous year.
- Columns for Used Carry Forward Days and Used Carry Forward Hours.
- Columns for Carry Forward Balance Days and Carry Forward Balance Hours.


Note
- Uploading and editing leave days:
- You can only upload and edit leave days for the current year.
- You cannot upload and edit leave days for the next year.