Add Company
Adding a New Company to the system can be done as follows:
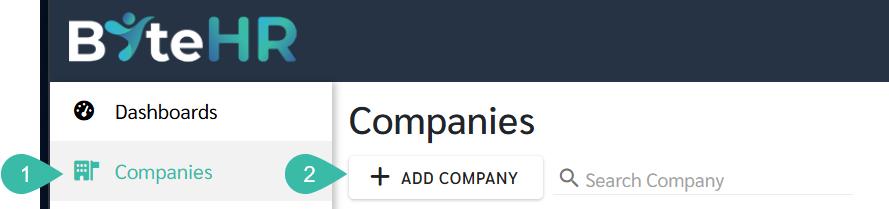
- Go to the Company.
-
Click Add Company, then you can fill in the company's information.

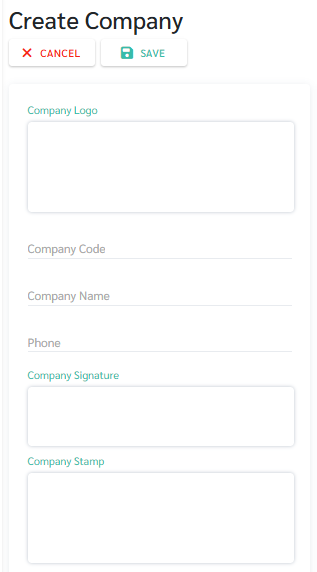
Basic Information (Left-hand sidebar)
- Click Company Logo to upload your logo image (maximum 3 MB).
- Company Code refers to the business code.
- Company Name: Please enter the company name in English.
- Phone.
- Click "Company Signature" to upload the authorized signatory's signature (maximum size 3 MB). This signature will be displayed in official reports.
-
Click Company Stamp to upload your stamp (maximum size 3 MB). This stamp will be displayed on your payslip and official reports.

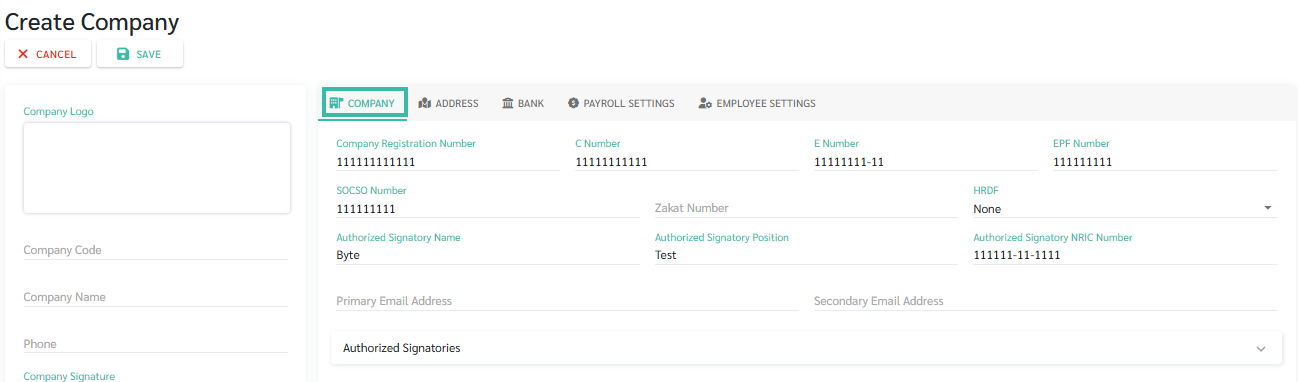
Company
- Company Registration Number.
- C Number: Company Tax Number.
- E Number: Employer Tax Number.
- EPF Number
- SOCSO Number
- Zakat Number
- HRDF
- The name and position of the authorized signatory will be displayed in various official reports, and more than one entry can be included.
- Authorized Signatory NRIC Number
-
Email Address: Enter the company's contact email address.
- If there is more than one authorized signatory, you can add more authorized signatories without changing the primary authorized signatory. This can be found under the "Authorized Signatory Signatures" section.
-
Click on the heading "Authorized Signatory Signature" --> Click + Add Authorized Signatory.
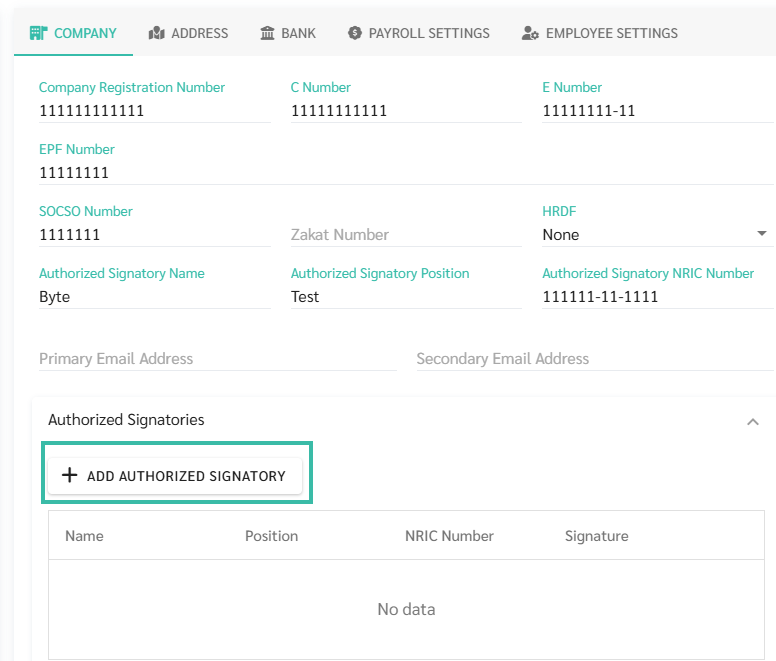
- Fill in the name, position and NRIC Number of the authorized signatory --> Upload signature --> Click Save.
- An unlimited number of names and positions of authorized signatories can be added.
- The name and position of the authorized signatory can be selected and used in various official reports.
-


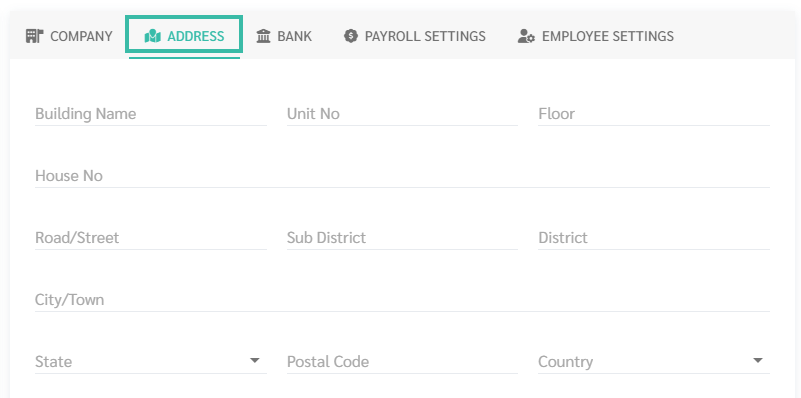
Address
- The company address should be filled in this section. The fields include:
- Building Name:
- Unit No.
- Floor
- House No.
- Road/Street
- Sub District
- District
- City/Town
- State
- Postal Code
-
Country

Bank
-
Bank: Please fill in the bank account details that the company will use to pay employee salaries. The system will use this information to create a bank file for you.
The details to be filled include:
- Bank Name used to disburse employee's salary.
- Account Name
- Account Number
- Customer Code: Corporate ID.

Payroll
- Option to process Payroll using Branch Payroll Settings.
- Tax Method:
- Progressive Tax Rate
- Fixed Tax Rate
- Employee Payslip Format:
- Standard
- Format 1
- Salary Details:
- Cut Off Date
- Payment Schedule
- Payment Rule
- Reimbursement Details:
- Cut Off Date
- Period
- Overtime
- Cut Off Date
- Period
- Allowance Rules
- Cut Off Date
- Period
- Deduction Rules
- Cut Off Date
- Period

For further details on the Payroll Settings, refer Payroll Settings - Company & Branch.
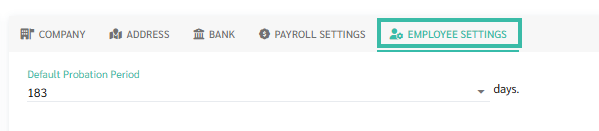
Employee Settings
-
Default Probation Period:
You may select the Probation Period configured in the company:
- 30 days
- 45 days
- 60 days
- 90 days
- 119 days
-
183 days
-
After filling in all the sections, click Save.


📃Note
1. For company logos and seals, you can choose between a square or rectangular image.
